Showing posts with label challenge. Show all posts

Wednesday, November 7, 2012

November Challenge - Almond Milk

I had a hard time deciding what to do this month because I have so many recipes and things I want to try. I finally decided on seeing if I could make almond milk from scratch.

This is what you need
1. 1 cup Raw Almonds
2. 4 cups Water
3. Sweetener


Step 1
Soak 1 cup of almonds overnight

Step 2
Strain the almond and blend the almond with 4 cups of water

Step 3
Add sweetener (I used agave. You can use vanilla extract, stevia, etc)


Step 4
Strain the milk and put it in a container. Milk will last 3-4 days in fridge.


This water from soaked almonds can be used to water plants because of its high nutrient content!
This is the almond residue from the blended almonds. I baked it for almond meal! Click here for suggestions on how to use almond meal.


As you can see, my kids loved the almond milk I made for this month's challenge. It was so easy! Definitely try this one, y'all!!

Wednesday, October 24, 2012

Drum Roll Please..... Challenge #2

Balsamic Vinegar Pearls DONE!

Here's my step by step. I actually failed 3 times before I succeeded.

I put the olive oil in the fridge for 3 hours at first. After 3 failures, I decided to follow another set of directions from another video and put it in the freezer for 30 minutes. I forgot about it and left it in there for an hour. LOL


Remember the weird agar-agar? Read this post for more on agar-agar. I ended up using a coffee bean grinder and made them into about 4 oz. of agar flakes! I was so proud of myself :-)

 Now I heat 1 cup of balsamic vinegar at medium and whisk in 1 tbsp of agar flakes. I heat this mixture till it lightly boils. Then, I let it cool down till it is around room temperature.


As you can probably tell, these 3 pictures above are the failed attempts. This is what I figured out. As I put in more and more pearls, the temperature of the oil quickly ascends. And as the olive oil warms up, my agar pearls disintegrates! So the 4th and last attempt, I dropped the pearls slower and intermittently put the oil back in the freezer for a minute. And here it is!!!! Beautiful!!! When you put these pearls in your mouth, the agar  quickly melts on your tongue and gives you a potent dosage of balsamic vinegar. YUM!!!


Thursday, October 11, 2012

Balsamic Pearls - Challenge #2

How did your sourdough starter come out? I was so glad to have made it. My family loved the bread and the pizza! So how about another challenge for October? I promise this challenge is shorter and less time consuming.

We are making Balsamic Vinegar Pearls! Watch this video! It's different than the first one I had found and posted but it actually gives us more details about it.

I went to an Asian market to find agar-agar. I had originally thought it was a type of sugar because in the video I saw, it was from a packet, like sweet n' low. LOL But agar is a red algae! It is a vegetarian thickening agent, compared to gelatin, which is from animal sources. Read on it here in this article.

Here are the varieties of agar-agar I saw. I was very surprised because 1. of their different colors and 2. they looked like bars of plastic!


Anyway, you know what I chose! I am a health nut! I got the one without the dye. In this challenge, I only need a tablespoon I think... so... I am not sure what I am going to do yet, but I will find out!

I will be back to post what I did and how I did on this challenge!

Wednesday, October 10, 2012

Breakfast WHAT?

Breakfast COOKIE!

A friend posted this online. No sugar, No gluten, No dairy!! 

Ingredients


1.5 cups of oats 


2-3 super ripened bananas

1 cup of unsweetened applesauce

a handful of craisins

and a sprinkle of cinnamon

Directions:

Just throw everything together, mix it up pretty well, throw it on a baking sheet at 350F for about 35 minutes

I am SO making this next month. This will be our challenge for November!!!

Monday, October 1, 2012

Sourdough Bread and Pizza Dough


 This is what my sourdough looked like. Bubbly and happy. I took out 2 cups of it and put it in another jar, added a cup of flour and water in it and repeated the starter process so I can keep making sourdough foods.

 We took out 3 cups of starter and mixed in whole wheat flour, salt and water. After a while, it turns doughy and that's when I started to knead it.


After a LONG time, it looked and felt perfect so I put it in a clean bowl and let it rise. Tomorrow I divide and bake. :) SO HAPPY!!!


This is a sourdough pizza recipe my friend, Becky sent me. We took the remaining cup and a half starter, put olive oil, and salt, mixed and kneaded and rolled out... VOILA, in the oven at 400F for however long it takes to bake but not burn, probably 30 minutes? I'll let you know. It IS midnight, so I am going to put it in the fridge and use it tomorrow.


Haha have you figured out that I do not follow recipes very well yet?


Anyway, CAN'T wait to make Balsamic Vinegar Pearls for October's challenge!!! 

 SEQUEL:


My sourdough got huge in the morning!!! So I just kneaded it and divided it into three pans and baked bread!


My Pizza from lunch :) It was awesome.


Thursday, September 20, 2012

Growing Bacteria - Challenge #1

SURPRISE!!!! I am not a natural homemaker like many other women. I am an awkward musician/photographer! These posts on "Domestic Affairs for Dummies" will focus on monthly experiments for myself, and for all those women out there, who are also challenged in the homemaking business.

This month, for fun, I will be growing a sourdough starter. The Koo family loves sourdough bread. I used to have this starter my friend gave me but I somehow killed it. So, this time, I'm gonna grow it. Ha! :)

I found this recipe on a website and I am going to follow each day to the T. I hope you will join me! I will come back and post on how mine is growing each day. Let me know how yours turns out. :D

Here's the sourdough starter website:

DAY 1

DAY 2

DAY 3

DAY 4

DAY 5

DAY 6 n 7

HAVE FUN!

Jo Jo

My Day 1 - Sept 21 PM

Told you I'd be back! Here is my little photo-biography taken in my Domestic Affairs Cubicle (kitchen) from tonight:

Got all my stuff ready: 6 pint jar, cheesecloth, whole wheat flour, rubber band, water

Put 2 cups of flour in the jar

Stirred in approximately 3 cups of filtered water and mixed till consistency is soupy

Put cheesecloth on the top and rubber band at the mouth

THE END! :-) Easy Schmeasy. Not too bad.

My Day 2 - Sept 23 AM
 I forgot to take a picture of my separated mixture but here's the jar after I poured out the liquid

I put the stuff in a clean jar

Added a cup of flour

Added a cup of cold water (the website said cold so I actually got fridge water)

Stirred it in

Replace the cheesecloth and put it in a warm place!

THAT'S IT! Piece a cake! Only difference I see in mine and on the website is mine has already filled half the jar. Hers looked like just 1/3 of the jar. We'll see what happens! 

MY DAY 3 - Sept 24 AM

Can't believe it's day 3 already!! We are half way done. 

I poured out the abscess and poured the good stuff in a new jar.

Stirred in 1 cup flour and 1 cup cold water.

I replaced the cheesecloth and put it right next to my Scoby/Kombucha. :)

I CAN'T WAIT to bake with my very own sourdough!!! By the way, I already picked out next month's challenge. We are going to be making Balsamic Vinegar Pearls!!! Watch this video. 

My Day 4 - Sept 25 AM 


Seriously, I did the same thing today again. Only thing I did differently is I put my sourdough in a much warmer place. We'll see if it makes a difference! 

Did you check out the Balsamic Vinegar Pearls we are going to make next month?? Video is at the end of Day 3. Who's with me? :-)

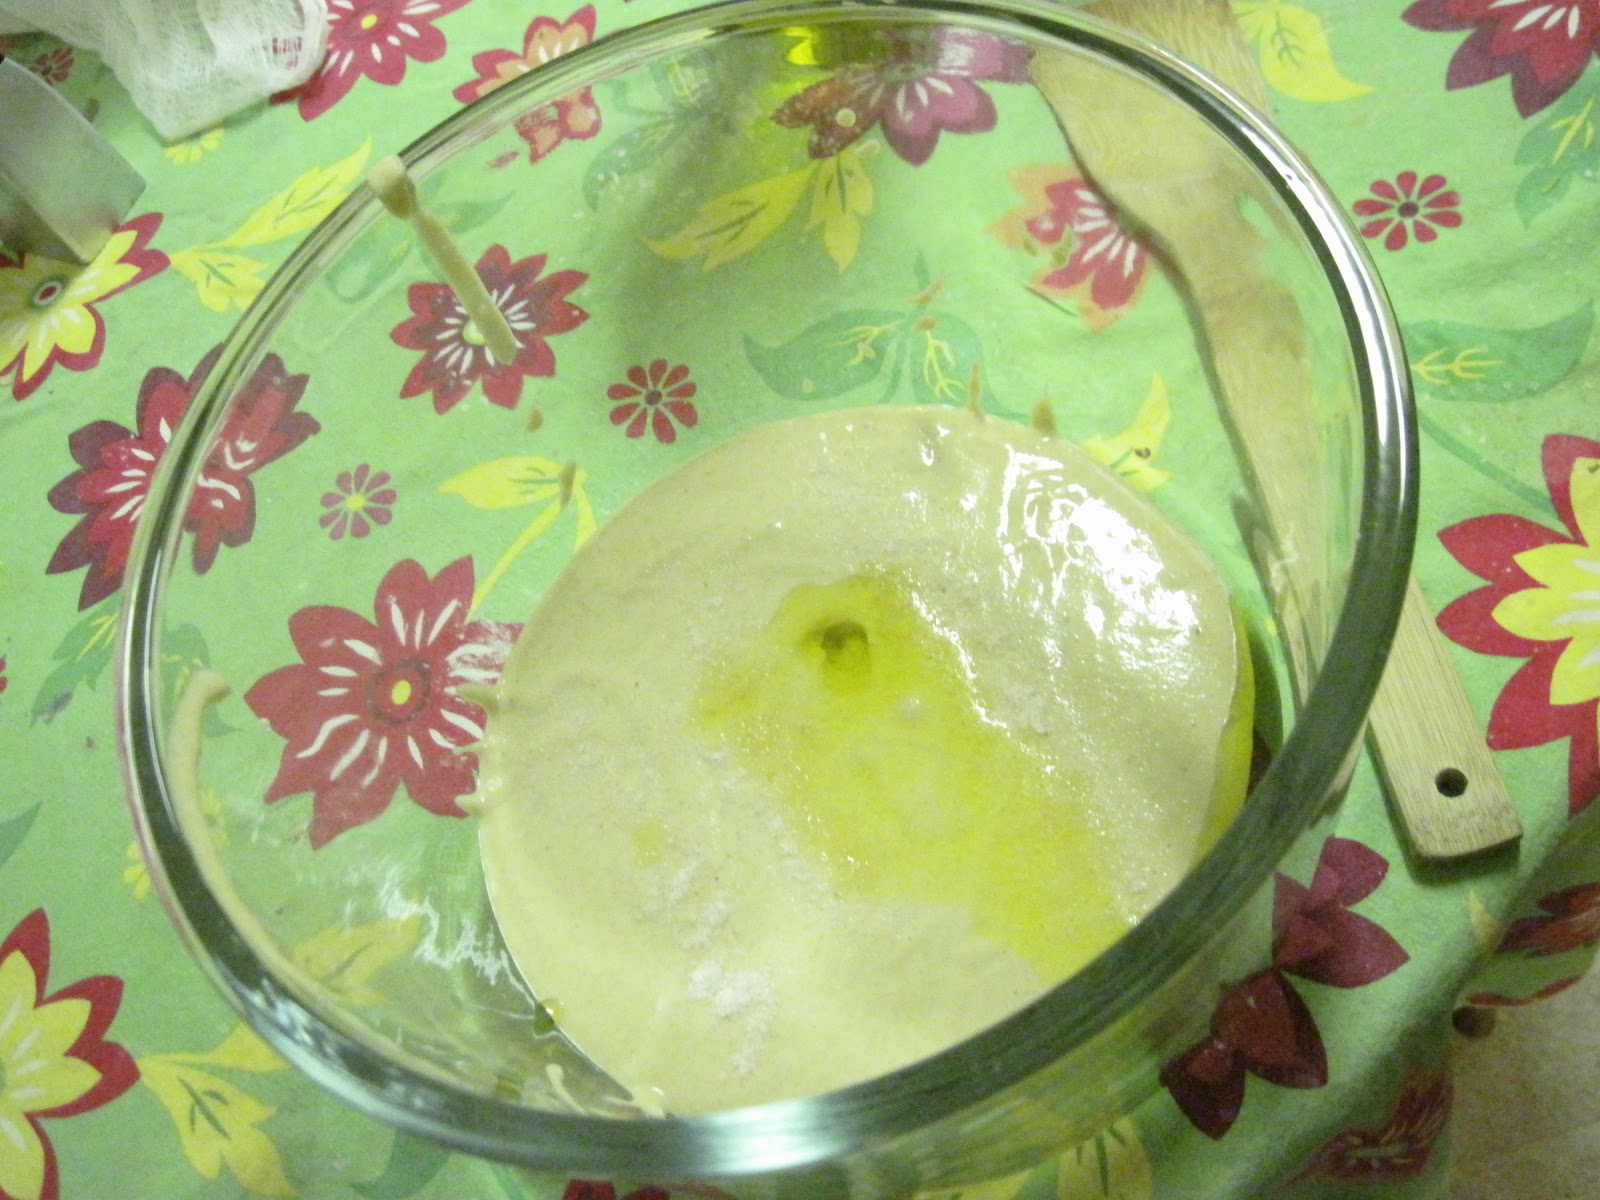
My Day 5- Sept 26 AM

Look at my bubbles!! yay!

looks a bit frothy. i did not pour this stuff out. i just mixed it in. I also switched my sourdough to a bowl.

it smells sweetly sour today. i mixed in my 1 cup flour and 1/2 cup water today. the website says that if you want your sourdough sour, make it soupy, if you don't, then make it thick.

cheesecloth on top. VOILA! 

END DAY 5!!! 3 days before I can make sourdough bread and other yummy food!!!!

My Day 6, 7 - Sept 27, 28 AM

I had family coming in town so I did not have time to do pics. all I did was repeat the process! It smells so good. The website says it starts to smell bad like vomit. Mine does NOT smell like that. It smells sweetly sour. :) I think I am going to continue feeding my starter until I feel it's ready for cooking. I have read some articles that says to let sourdough sit for at least 2 weeks before using it. So... maybe I will play it by ear.

My Day 8 - Sept 29 AM

This is my bubbly sourdough!!! For the past week, it has always smelled sweetly sour. This morning when I took a whiff, I was gonna puke!!! It FINALLY smells like what it's supposed to!!! Like VOMIT! hahaha

I repeated the same step but 1.5 cups of water to it cuz I wanted it to be a little more soupy. I can't wait to make bread and pizza dough and all sorts of stuff!!!! :) YAY!